How to beat Spiral Abyss Floor 11 in Genshin Impact Update 1.2. Defend your monolith HP! Here’s a guide with tips to help you clear the floor.
The new 1.2 Floor 9 and Floor 10 were probably quite easy (especially if you’re high level). However Floor 11 can be a wall.
Specifically Chamber 2 (tower defense) is challenging. Defending your monolith can be particularly difficult due to the number of enemies including several Hilichurl archers.
The key is aggro control. Crowd control like Traveller (Anemo), Venti or Sucrose will make things easier. However knowing which enemies to target is also important, especially if you’re not blessed Venti and his massive AoE CC.
Party Setup
| Element 1 | Element 2 | Element 3 | Healer | |
|---|---|---|---|---|
| First Half (F2P Suggestions) |  Anemo (Traveler - Anemo)** |  Cryo (Kaeya)*** |  Pyro (Amber) | Any |
| Second Half (F2P Suggestions) | Any | Any | Any |  Geo (Noelle)**** |
| **For crowd control (Venti/Sucrose are even better) ***Chongyun's ability to deal Cryo dps is also particularly good here. ****Noelle is particularly good as she is a Geo Claymore character (great for shields) and can also fill the healing role. |
||||
Recommended:
Primary DPS Lv. 80+
Supports Lv. 60+
- [First Half] Aggro control is the key to chamber 2. Traveler (Anemo) E ability is great for this. You’ll also need AoE crowd control. Again Traveler (Anemo) Q ability works but Sucrose/Venti are even better options.
- [First Half] Cryo for the Electro and Hydro enemies (Hydro Abyss Mage, Electro Slimes, Electrohammer, Hydrogunner) enemies.
- [Second Half] Geo for Rock Shieldwall Mitachurl
- [Second Half] It is recommended you use a melee DPS for Chamber 3. Otherwise the Electro Cicin flies will make it difficult to deal damage.
Read more about shield counters.
Ley Line Disorder
- Your character will be periodically inflicted with Engulfing Storm, continuously draining your Energy until the inflicted Electro element is removed.
- Cryo DMG dealt by all party members increased by 75%.
As you can see using Cryo dmg is particularly good this floor. Making Chongyun’s Elemental Skill very valuable. However Kaeya’s Q ability is also great for boosting dps.
Chamber 1

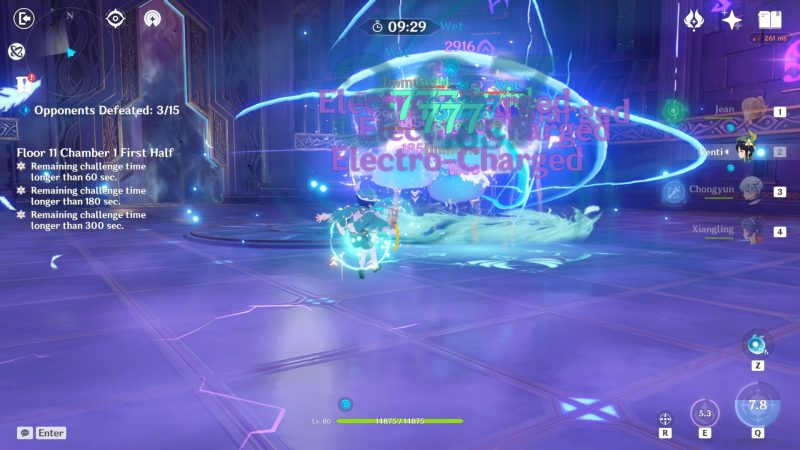
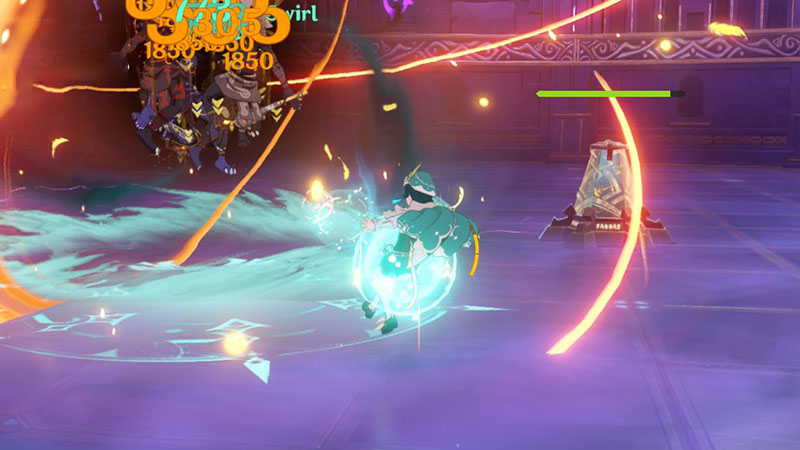
- [First Half] Swirl enemies together with your Anemo character of choice for Electro Charged reactions.
- [First Half] You’ll likely be left with a few Electro Slimes. Finish them off with your DPS. Your Pyro/Cryo are both useful here.

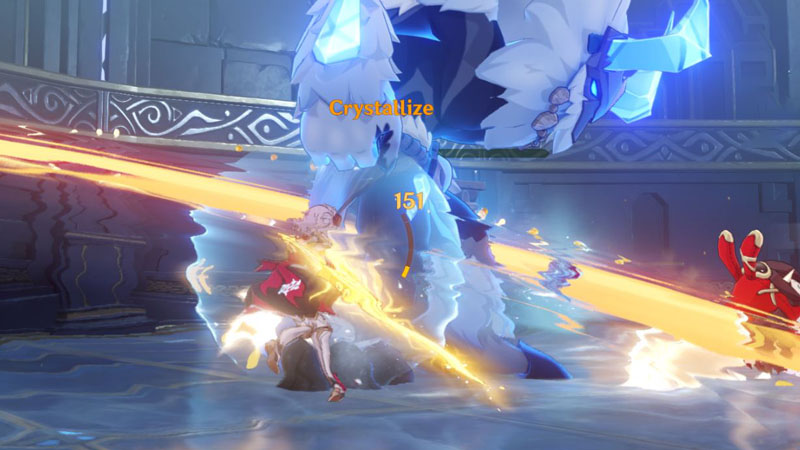
- [Second Half] Use Claymore/Geo to break the Rock Shieldwall Mitachurl shields.
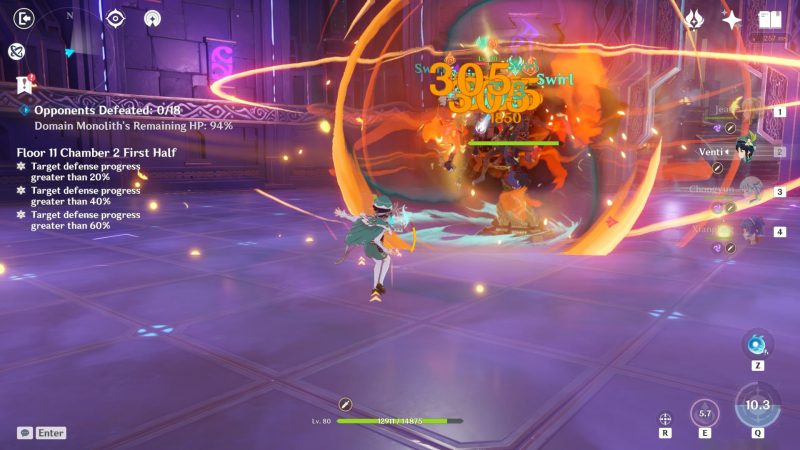
Chamber 2
If you are using Traveler (Anemo):
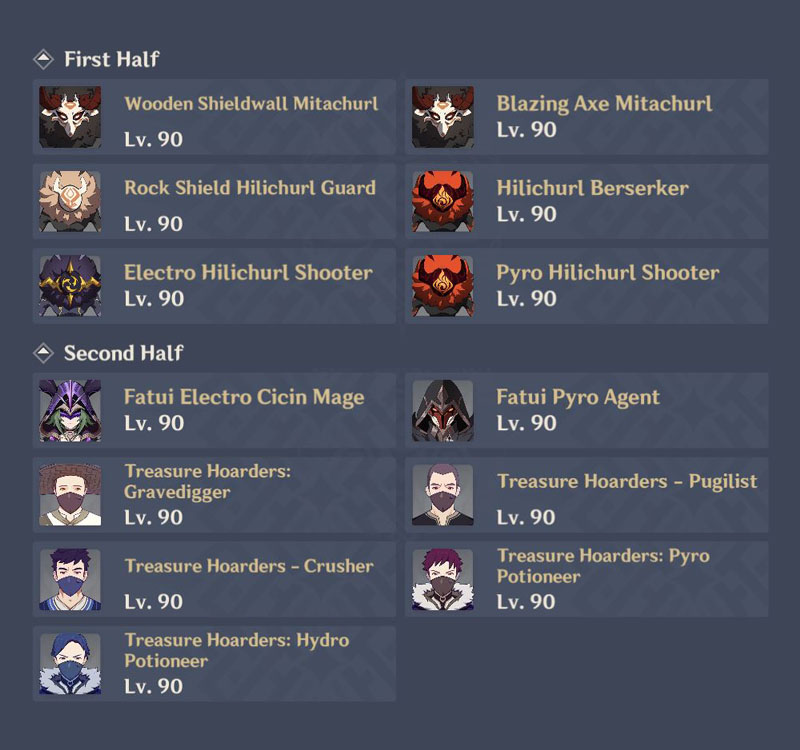
- [First Half] The first thing to do is to grab aggro from the 2x Rock Shield Hilichurls (otherwise they will hit your monolith). If you’re using Anemo MC, use E ability to grab aggro first then aim your Q ability to tornado them away.
- [First Half] Now take out that single Pyro Hilichurl Shooter (it will be targeting the monolith). Another Hilicurl Shooter will spawn but it will target you so ignore it for now.
- [First Half] You can now finish off the two Rock Shield Hilichurls. Whilst this is happening you will have 2x Hilichurl Shooters targeting you so try to stay away from your monolith.
- [First Half] 2x Rock Shield Hilichurls will spawn. Again grab aggro but this time finish them off too.
- [First Half] Next target the Blazing Axe Mitachurl. It will target the monolith so just like in the beginning grab aggro first.
- [First Half] Use Pyro against the Wooden Shieldwall Mitachurl.
- [First Half] Finish off the remaining Hilichurl Shooters.
If you are using Venti/Sucrose:
It’s harder to control which Hilichurls are killed so things will go a bit differently.
- [First Half] Go for the Pyro Shooter. This will pull the majority of the enemies towards you whilst allowing you to charge your Q.
- [First Half] When possible use your Q ability towards the middle of the arena. This will make sure the two Rock Shield Hilichurls are affected.
- [First Half] Burst down the Blazing Axe Mitachurl.
- [First Half] Finish off the remaining Hilichurl Shooters.
- [First Half] Use Pyro and kill the Wooden Shieldwall Mitachurl last.
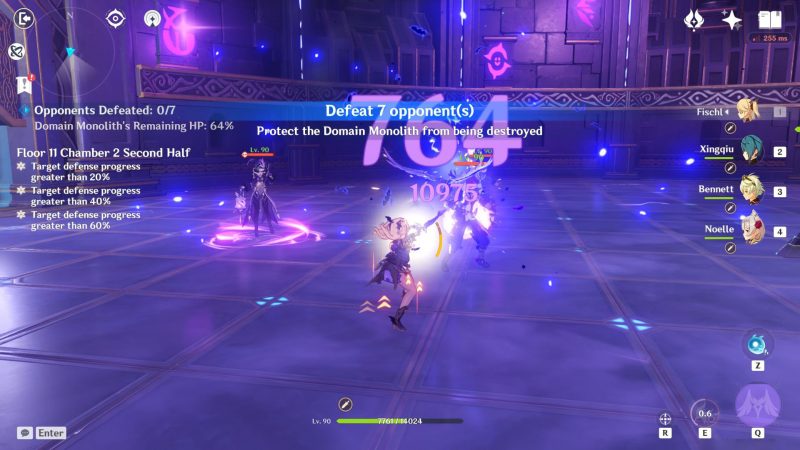
- [Second Half] Aim for the Treasure Hoarders first.
- [Second Half] Then kill the Electro Cicin Mage.
- [Second Half] In the second wave aim for the Treasure Hoarders again (you can ignore the Gravedigger).
- [Second Half] Kill the Pyro Agent next.
- [Second Half] Lastly finish off the Gravedigger.
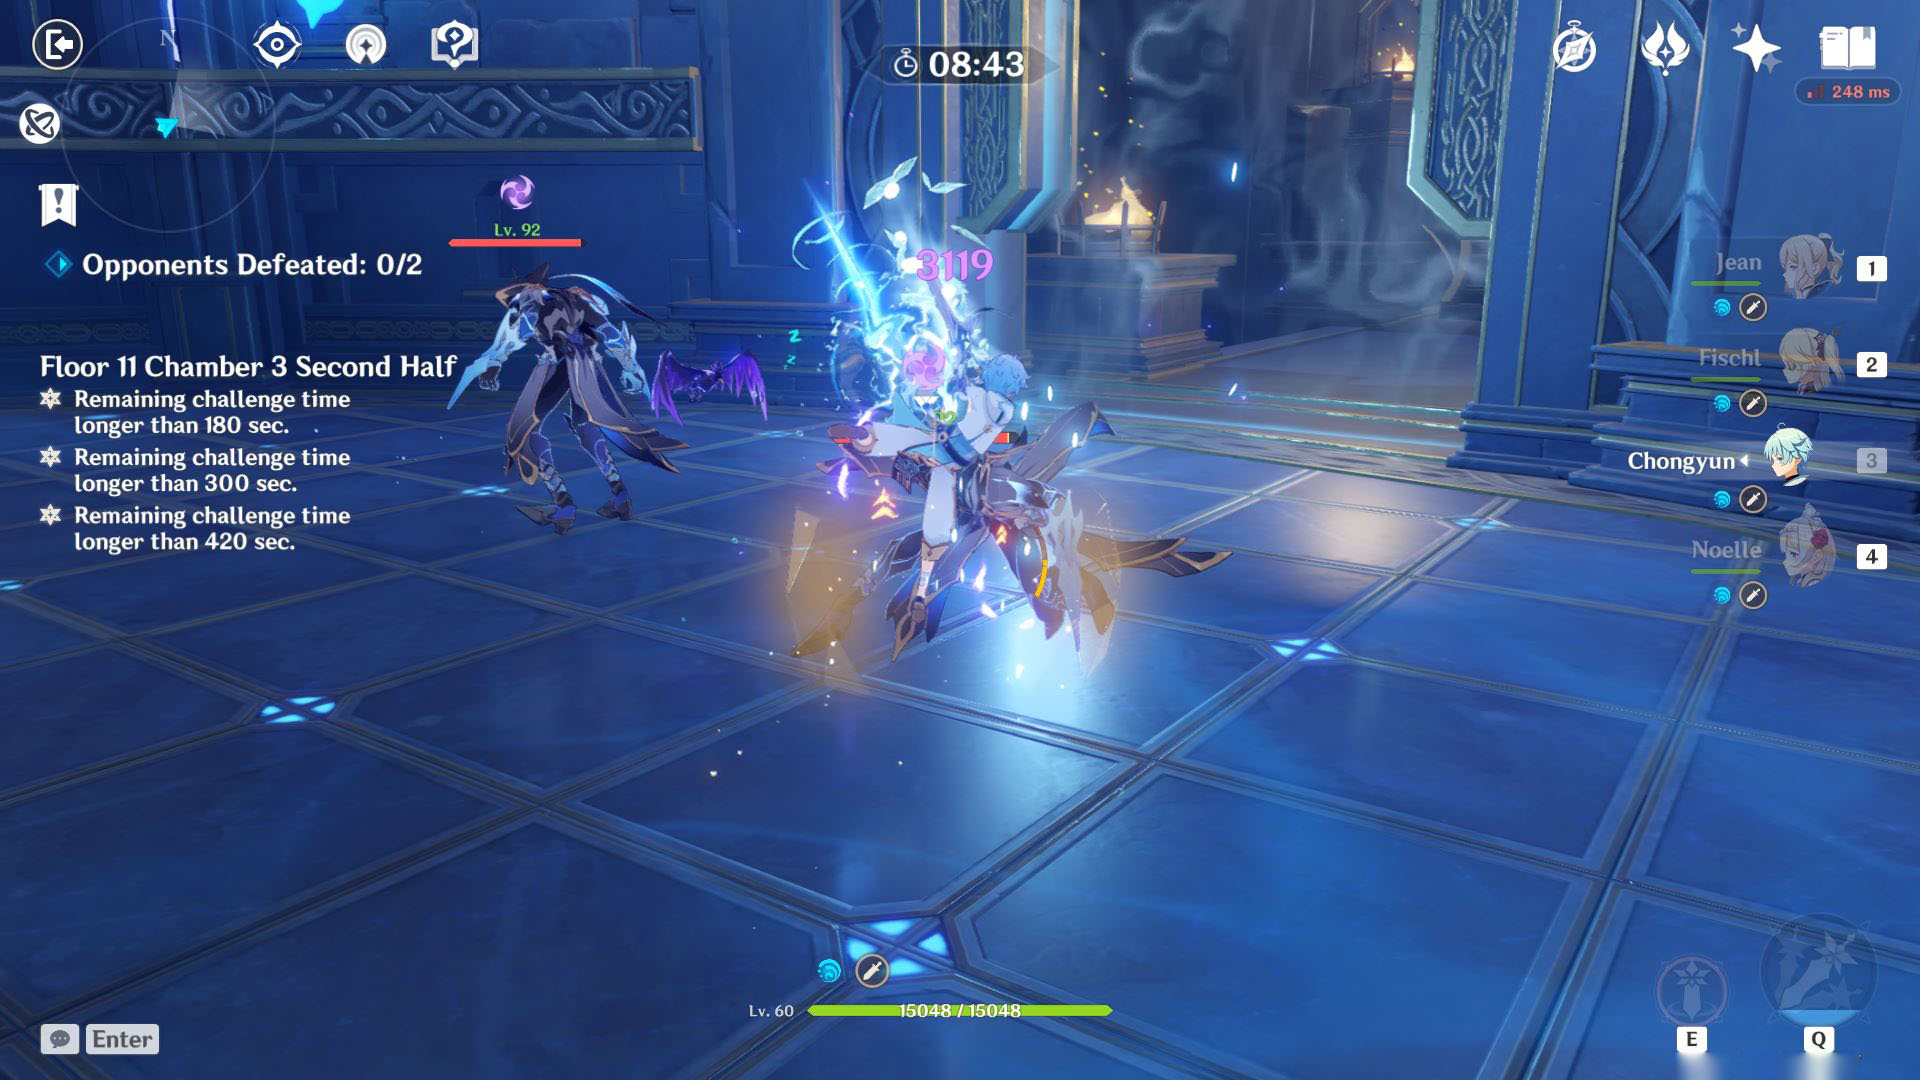
Chamber 3
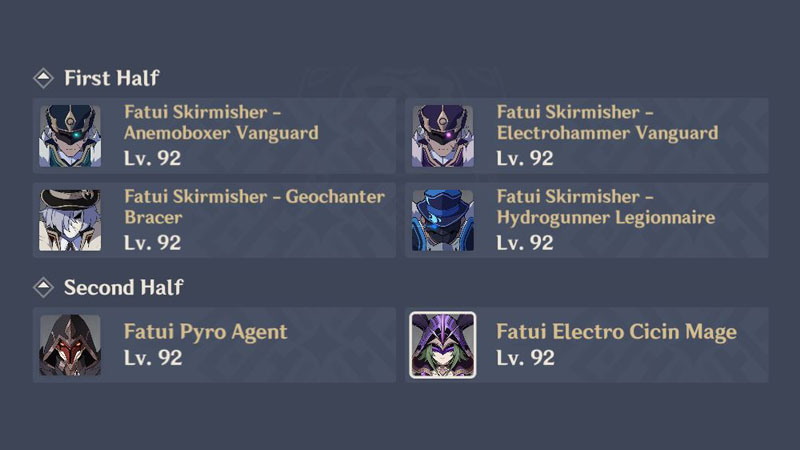
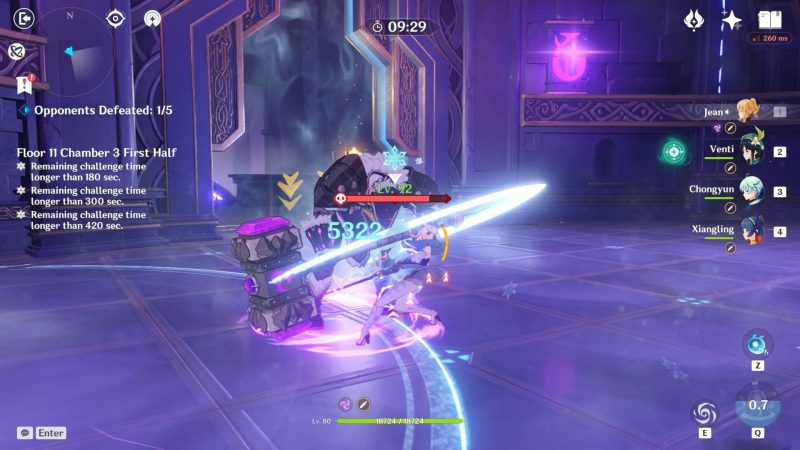
- [First Half] Take out the Anemoboxer first.
- [First Half] Use Cryo against the Electrohammer shield.
- [First Half] In the second wave aim for the Hydrogunner first (as it can heal). Use Cryo/Electro against its shield.
- [First Half] Next burst down the Geochanter. Keep it staggered so it doesn’t use its shield.
- [First Half] Use Cryo against the Electrohammer shield.
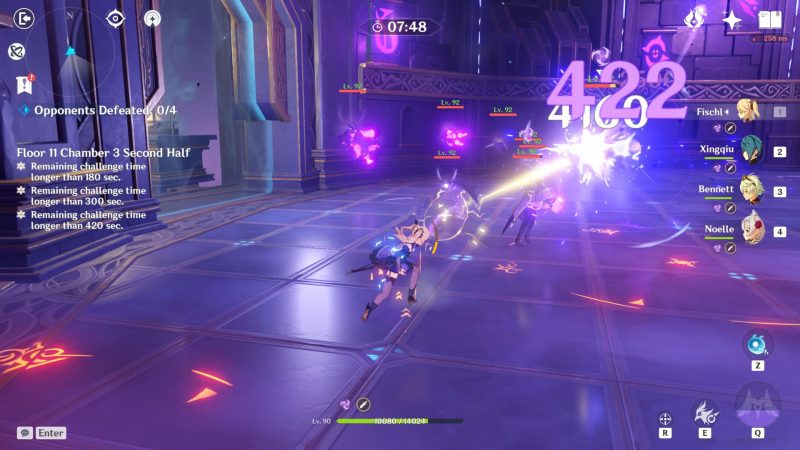
- [Second Half] This half is also quite difficult. Take advantage of the Electro Cicins when they are charging their shield. They will be stationary and without their flies.