How to beat Spiral Abyss Floor 10 in Genshin Impact. Here’s a guide with tips to help you clear the floor.
Check out the Spiral Abyss Floor 10 Guide Update 1.2
Party Setup
Recommended:
Primary DPS Lv. 80+
Supports Lv. 60+
| Element 1 | Element 2 | Element 3 | Healer | |
|---|---|---|---|---|
| First Half (F2P Suggestions) |  Hydro (n/a - Note 2) |  Anemo** (Anemo Traveler) | Any |  Geo (Noelle) |
| Second Half (F2P Suggestions) | Any | Any | Any | Hydro (Barbara) |
| **For Crowd Control | ||||
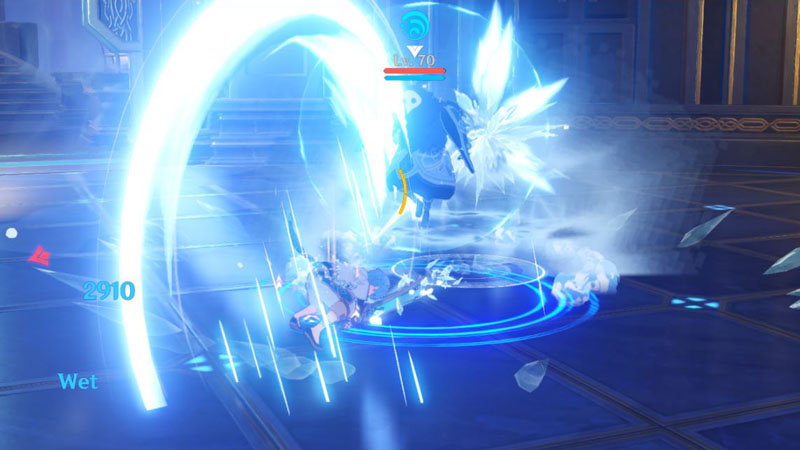
- Both halves have Pyro Shields to deal with. Having 2 Hydro characters makes things easier.
- If you don’t have 2 Hydro characters prioritize the 2nd Half as the Pyro Abyss Mages are harder to deal with than the Fatui Pyroslingers. Barbara is great! But since I did have 2 Hydro Characters I placed Barabara in the first half.
- Using a shield character will help you survive the Anemoboxer vortex attacks on First Half Chamber 3. Noelle is a great F2P option as she can also provide heal.
- Sucrose/Venti crowd control can be great for the 1st Half. Anemo Traveler is good too.
- Xingqiu is very good for this floor. Not only can he apply Hydro, he also can shield your characters reducing damage and interruption.
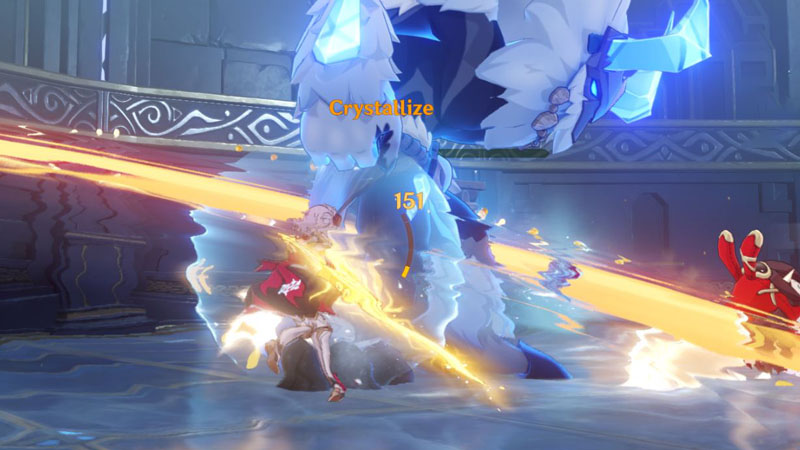
- On the same note 2x Geo Elemental Resistance for interruption resistance is also good.
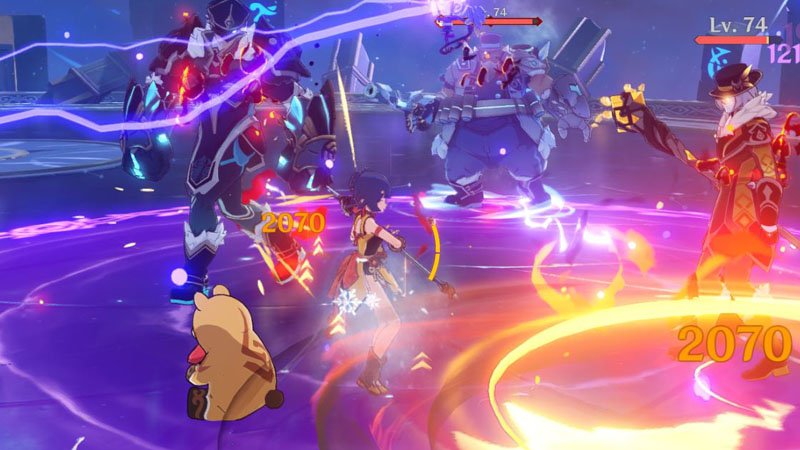
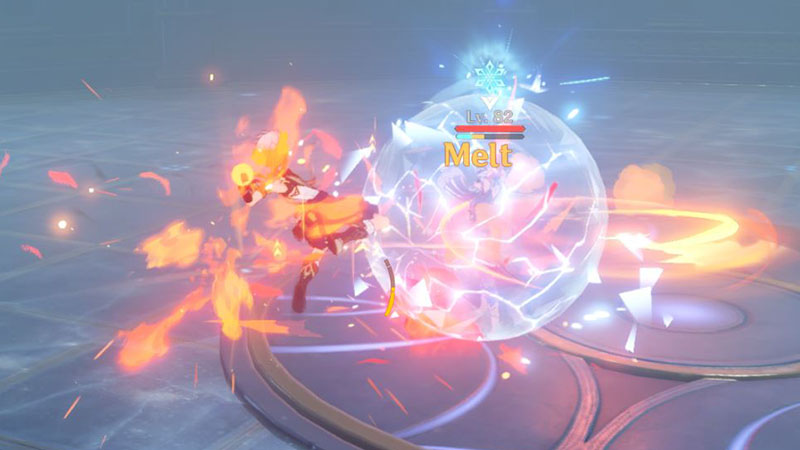
- As for other elements Electro and Cryo are good for Melt and Overload elemental reactions.
Read more about shield counters.
Ley Line Disorder
- Your character will be periodically inflicted with Smouldering Flames, causing you to take Pyro DMG until the inflicted Pyro element is removed.
- Incoming healing bonus of all party members increased by 50%.
Survivability is the key to this floor. Characters that can provide heal and shield are very helpful.
Chamber 1
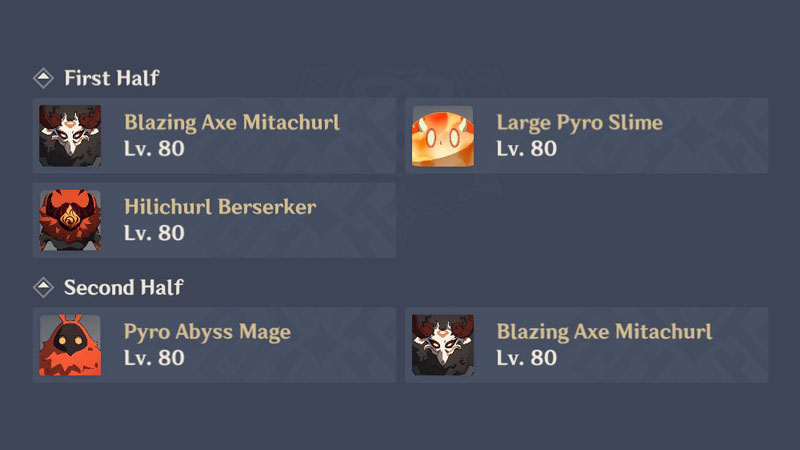
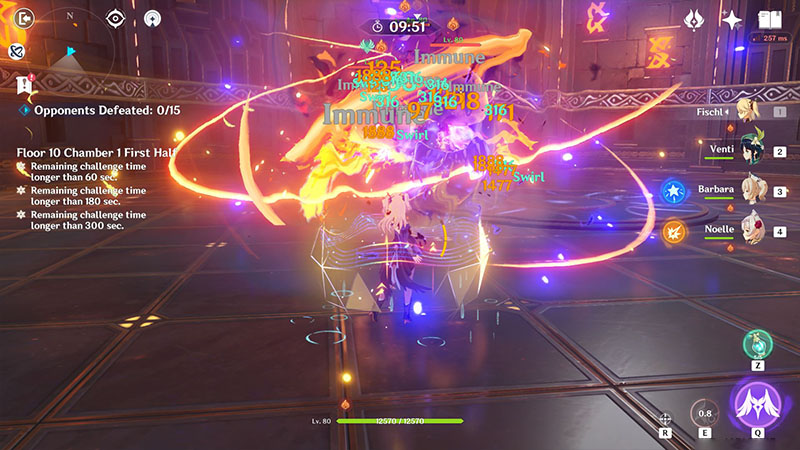
- [First Half] Pretty straight forward. Just keep an eye out for the slime jump attack. If you have crowd control from Sucrose or Venti this half is quite easy.
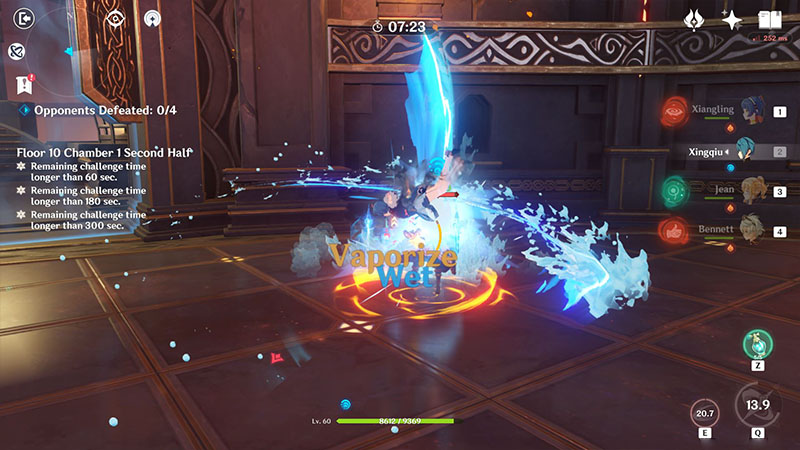
- [Second Half] Aim for the Pyro Abyss Mage first in each wave. Use Hydro attacks to quickly deplete its shield.
Chamber 2
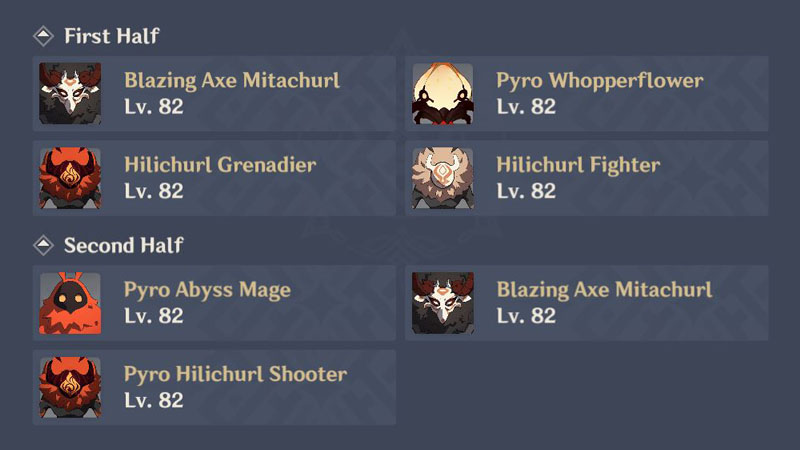
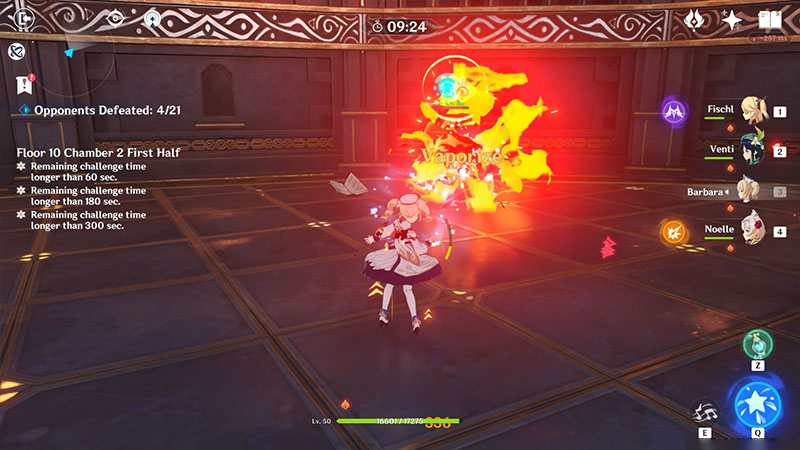
- [First Half] This chamber is quite hard due to the number of enemies and the Pyro Whopperflowers being quite durable. If you have Sucrose, Venti or even Anemo MC their crowd control can be very useful here.
- [First Half] Use Hydro to deplete the Whopperflower Pyro Shields when they are up.
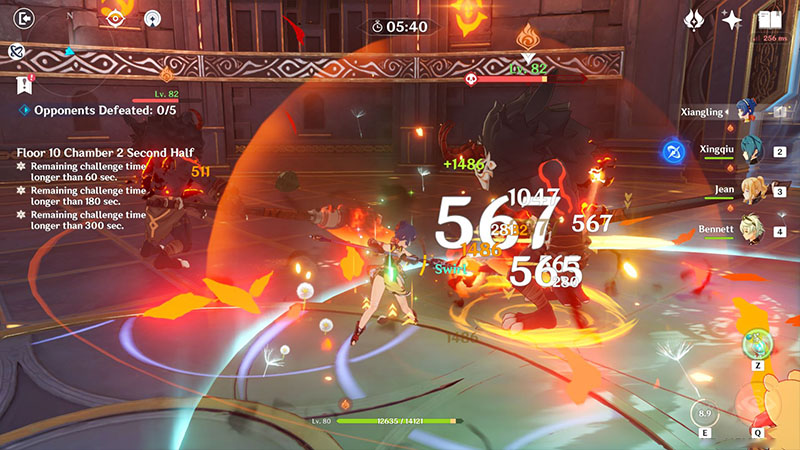
- [Second Half] In the first wave aim for the Blazing Axe Mitachurl with the Pyro Aura first.
- [Second Half] For the second wave aim for the Pyro Abyss Mages first. Deplete its Pyro Shield with Hydro attacks.
Chamber 3
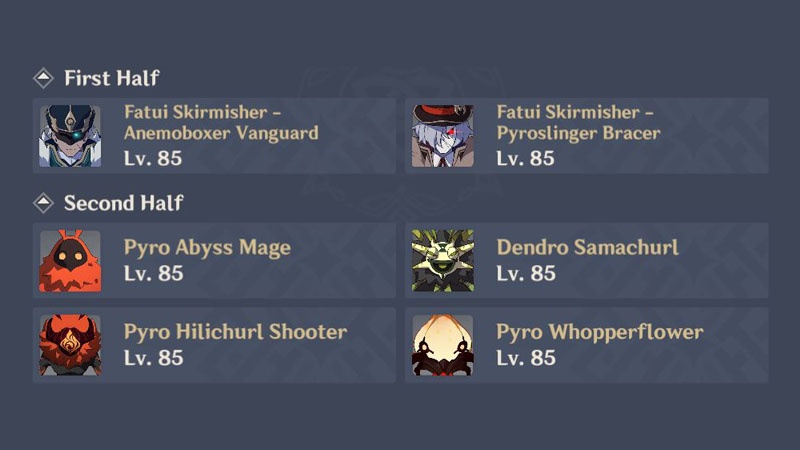
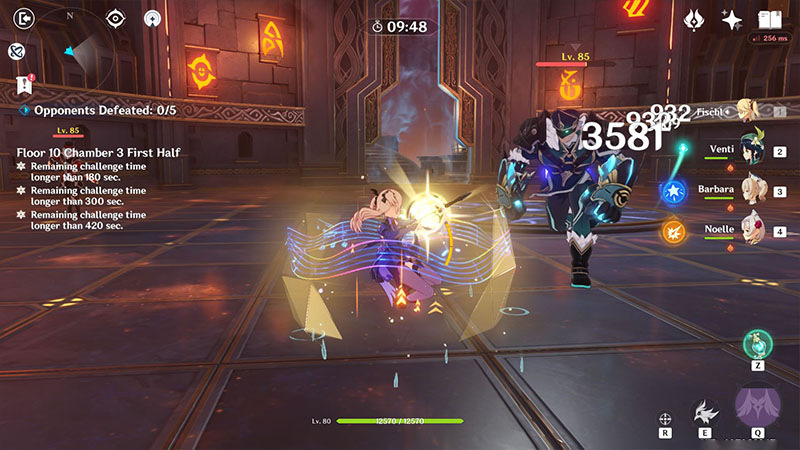
- [First Half] The first wave is quite manageable. Aim for the Anemoboxer first and avoid using skills when its shield is up.
- [First Half] Keep an eye on the Pyroslinger and start moving to evade its attacks.
- [First Half] Once the Anemoboxer is down go for the Pyroslinger. Use Hydro attacks to deplete its shield if its up.
- [First Half] The second wave is the hard part. A vortex will periodically appear out of nowhere. This crowd control is especially deadly making it difficult to evade the attacks from the 2 Pyroslingers. Shields will make this phase wave easier, helping you survive hits.
- [First Half] You can take two approaches to this wave. In both you will focus down the Anemoboxer first. But its up to you weather you want to use your abilities.
Using your abilities will help you take out the Anemoboxer quickly. This is good as the vortex in this wave is unavoidable. However you’ll need to be ready to use your Elemental Burst to iframe the Anemoboxer vortex attack.
Alternatively you can save your skills for until the Anemoboxer is down. This takes longer and you’ll still have to deal with the periodic vortex.
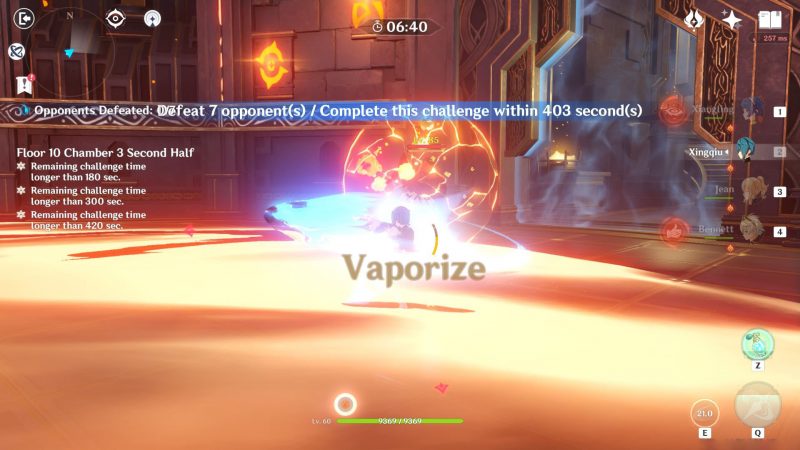
- [Second Half] The final chamber is pretty straight forward. Aim for the Pyro Abyss Mage first. Take out its shield with Hydro attacks.