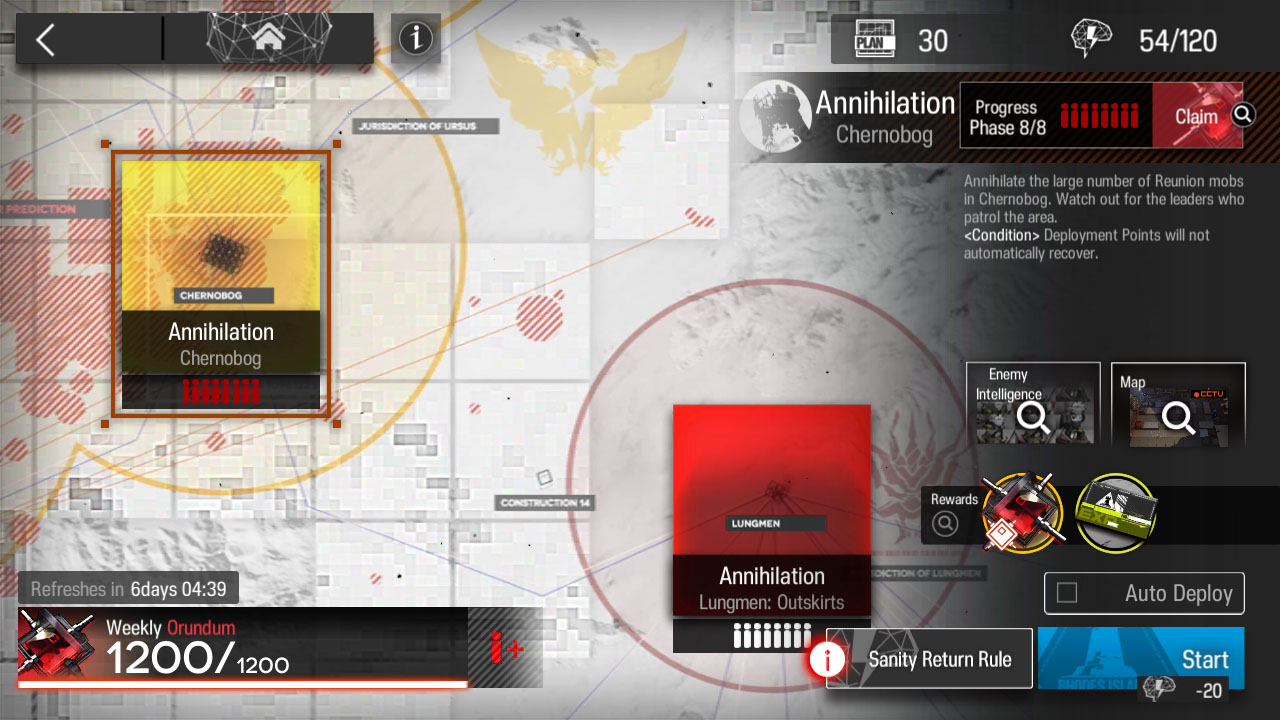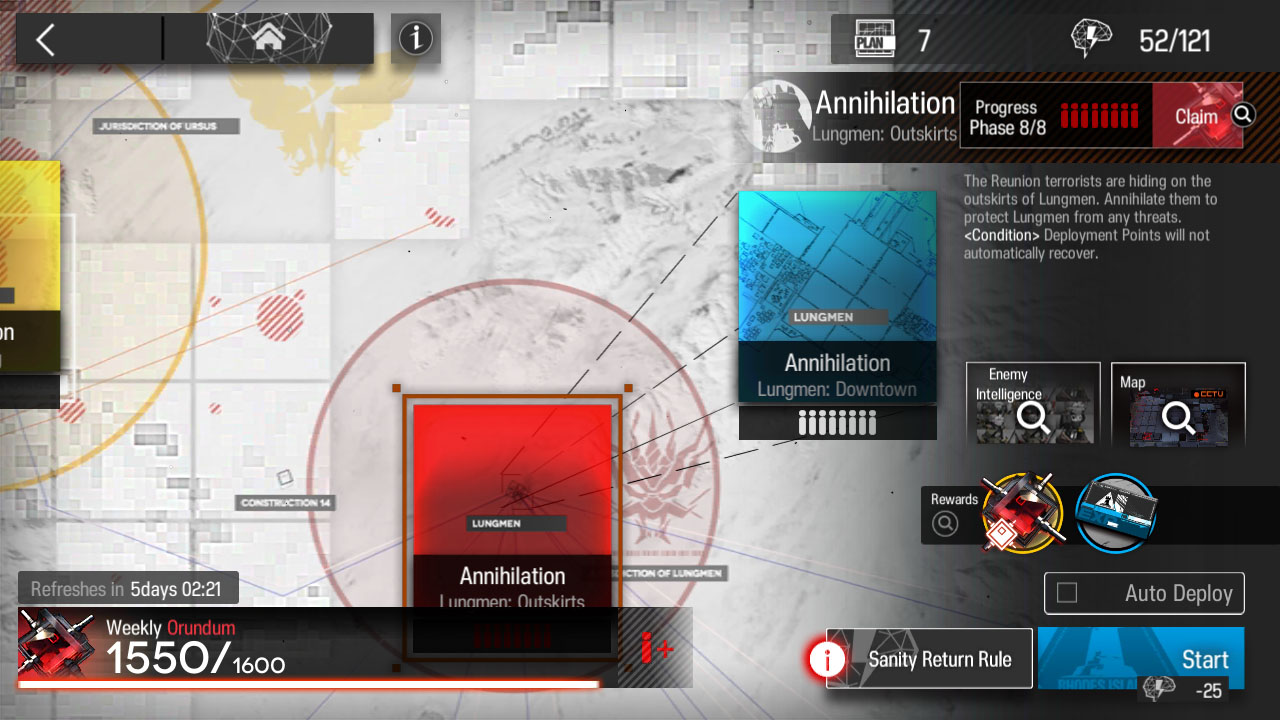
How to clear Arknights Annihilation 2 Lungmen Outskirts with 400 kills to earn your weekly Orundum.
The Setup
You can clear this stage with lower level operators. But for a more comfortable auto recording a team of Operator Elite 1 Lv. 40+ (Except for Shaw and Cliffheart who can be Lv. 1) is Recommended.
There are multiple ways to get a clean clear, the below guide shows one way to go about it.
- 1x Vanguard (DP Recovery) – Make sure the passive DP Recovery skill is equipped. Your Vanguard shouldn’t need to rely on kills to generate DP.
- 1x Vanguard (Low Cost)
- 1x Guard
- 1x Caster (AoE)
- 2x Healer
- 1x Sniper (AoE)
- 1x Sniper (ST)
- 2x Defender – Second Defender is used as a backup
- Shaw (with Rank 4 Skill)
- Cliffheart (with Rank 4 Skill)
Shaw and Cliffheart are the easier shift operators to obtain. However feel whatever alternative Push/Pull operators available to you.
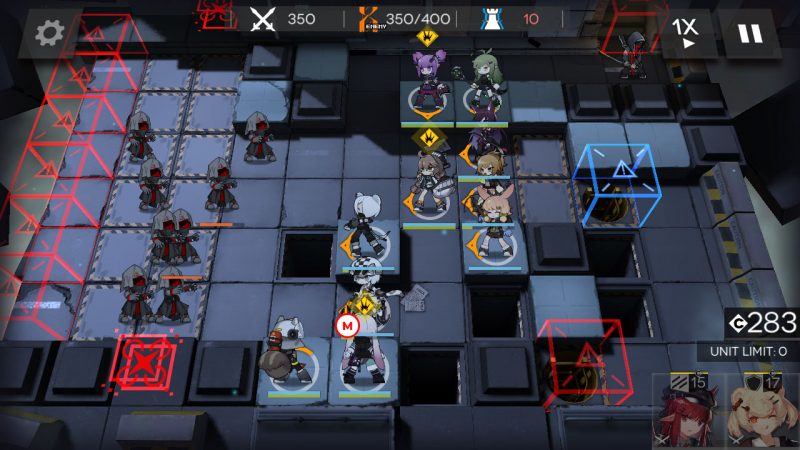
Phase One
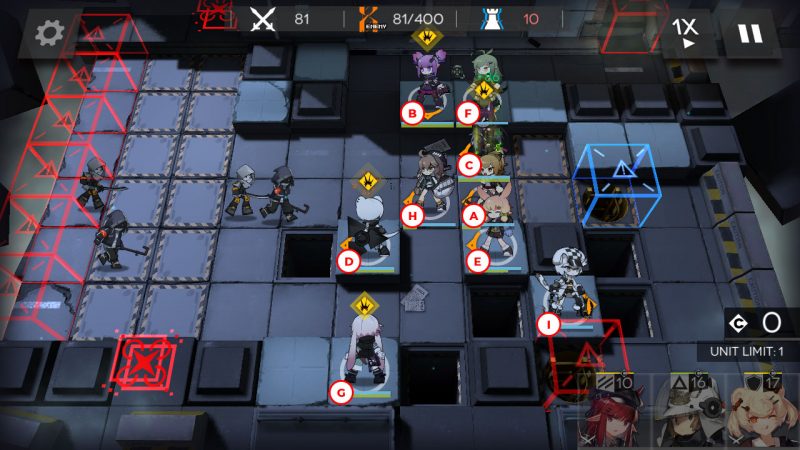
The initial waves are quite easy, your operators won’t be taking many hits so you can focus on placing your damage dealers first.
- Vanguard (DP Recovery) in position (A) facing left.
- Caster (AoE) in position (B) facing down.
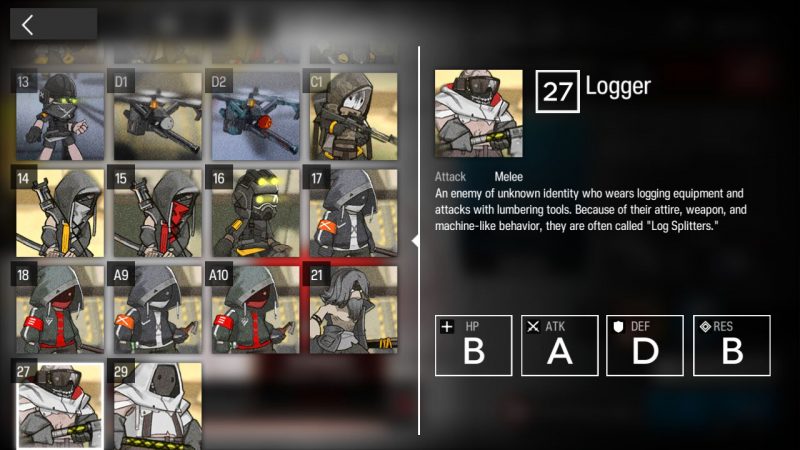
- Guard in position (C) facing left. Use your Guard’s skill against the Loggers to take them down faster.
- Sniper (AoE) in position (D) facing left. Large groups of Rioters will spawn from the left, these enemies will however temporarily stay still. Your Sniper in this position will make the most of their initial stationary position.
- Sniper (ST) in position (E) facing left.
- Healer in position (F) facing down.
- Second Healer in position (G) facing up.
- Deploy your Defender in position (H) facing left.
- Lastly Cliffheart goes in position (I) facing right to pull the right hand side mobs into the pit.
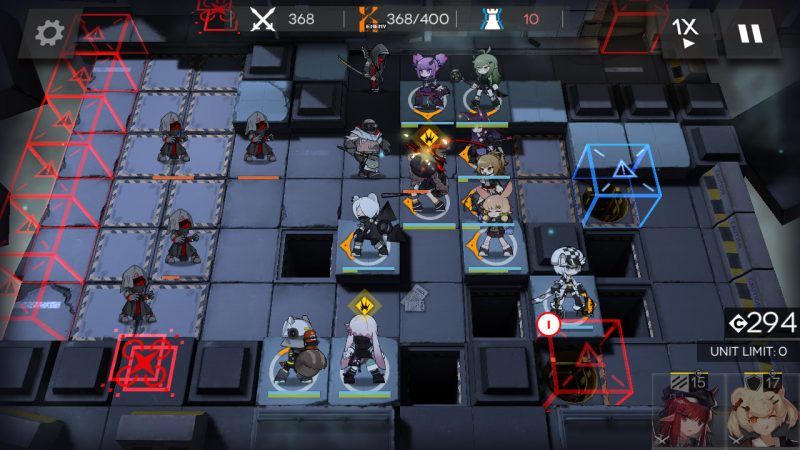
Phase Two
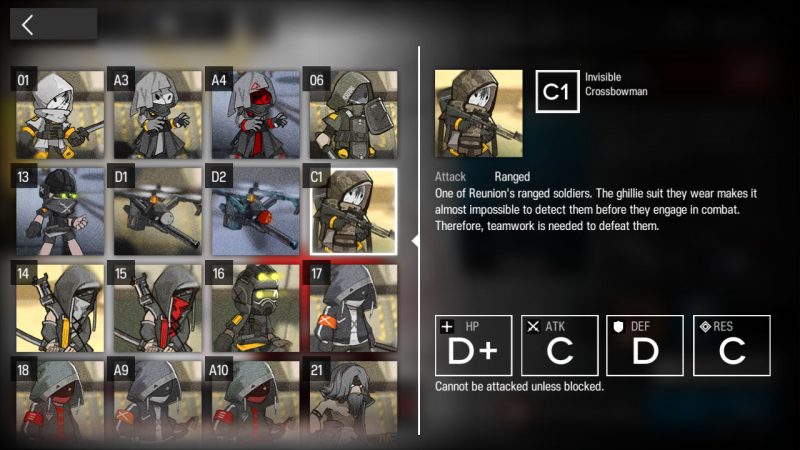
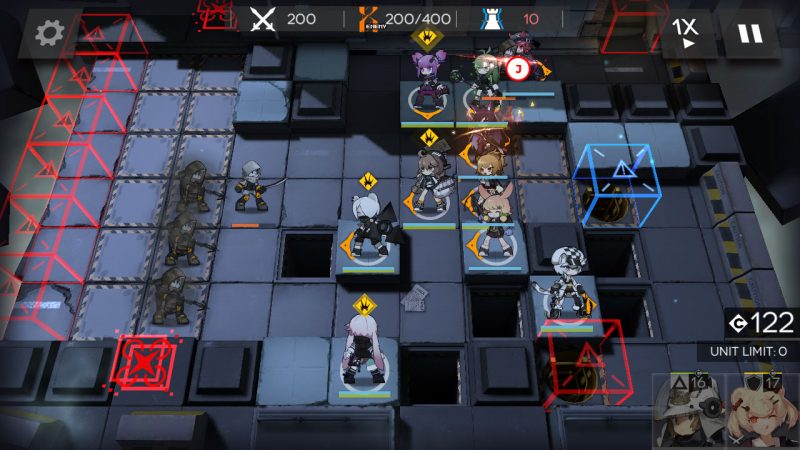
At 200 Kills an Invisible Crossbowman will appear from the top right spawn. They cannot be attacked unless blocked.
Once this enemy reaches position (J) place your low cost Vanguard on top of it. Once the Invisible Crossbowman is killed retreat this Vanguard.
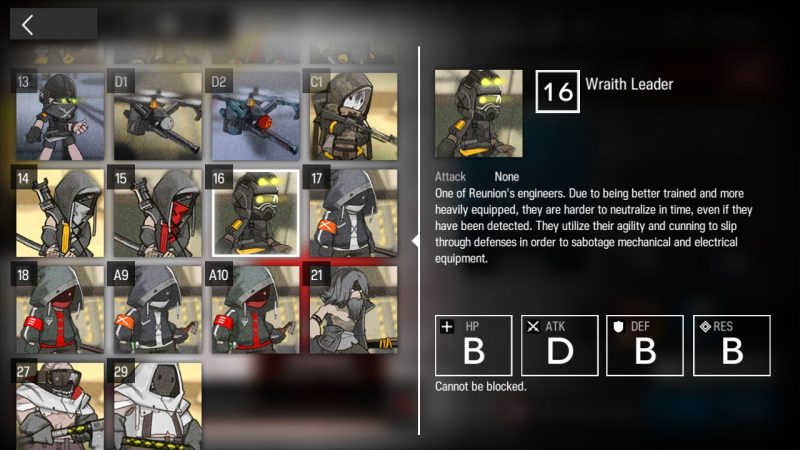
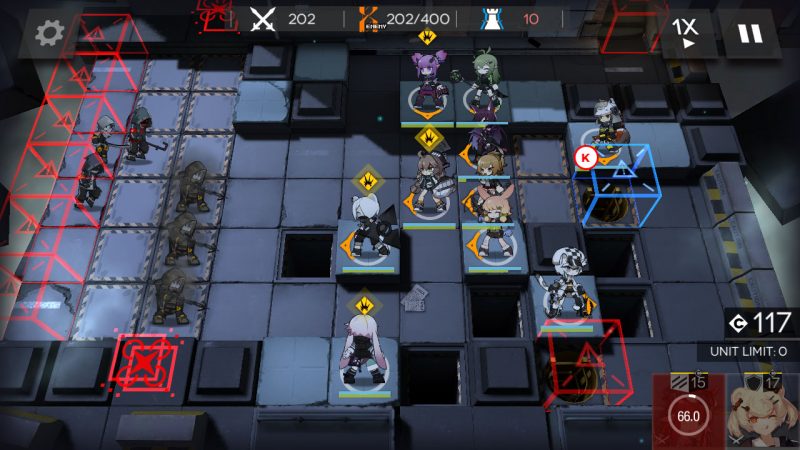
We can now safely deploy Shaw in position (K) facing down. At around 250 kills Wraith Leaders will spawn. They are quite difficult to kill and will run past your operators.
Shaw in this position is there to catch any that slip past your defense. After you kill the 2nd Wraith Leader you can return Shaw.
Phase Three
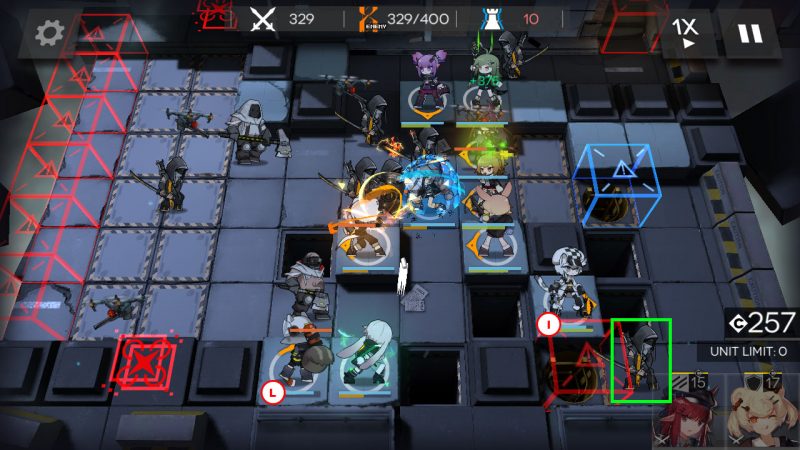
Redeploy Shaw once you can in position (L) facing up. At around 330 Kills an Avenger (Highlighted in Green above) will spawn from the bottom right.
After it gets pulled into the pit return Chiffheart.
Redeploy Cliffheart once you can in position (M) facing left. This will help protect Shaw from that initial Caster Leader that steps forward.
Once that single Caster Leader is pulled towards Shaw and pushed into the pit return Cliffheart.
Phase Four
- Redeploy Cliffheart in position (I) facing right. This will take care of the remaining enemies that will spawn from the bottom right.
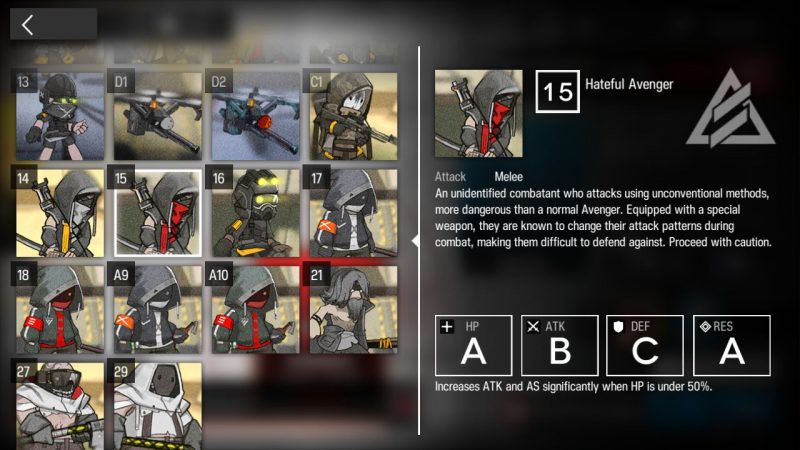
- At around 370 Kills the first Hateful Avenger will spawn. They don’t do much damage at first but when their HP drops below 50% they will deal massive damage. You will need to activate your Defender, Healer and Offensive skills to survive and take them down fast.
If your primary Defender dies against the Hateful Avenger drop in your backup Defender.
Prev: Annihilation 1 Chernobog