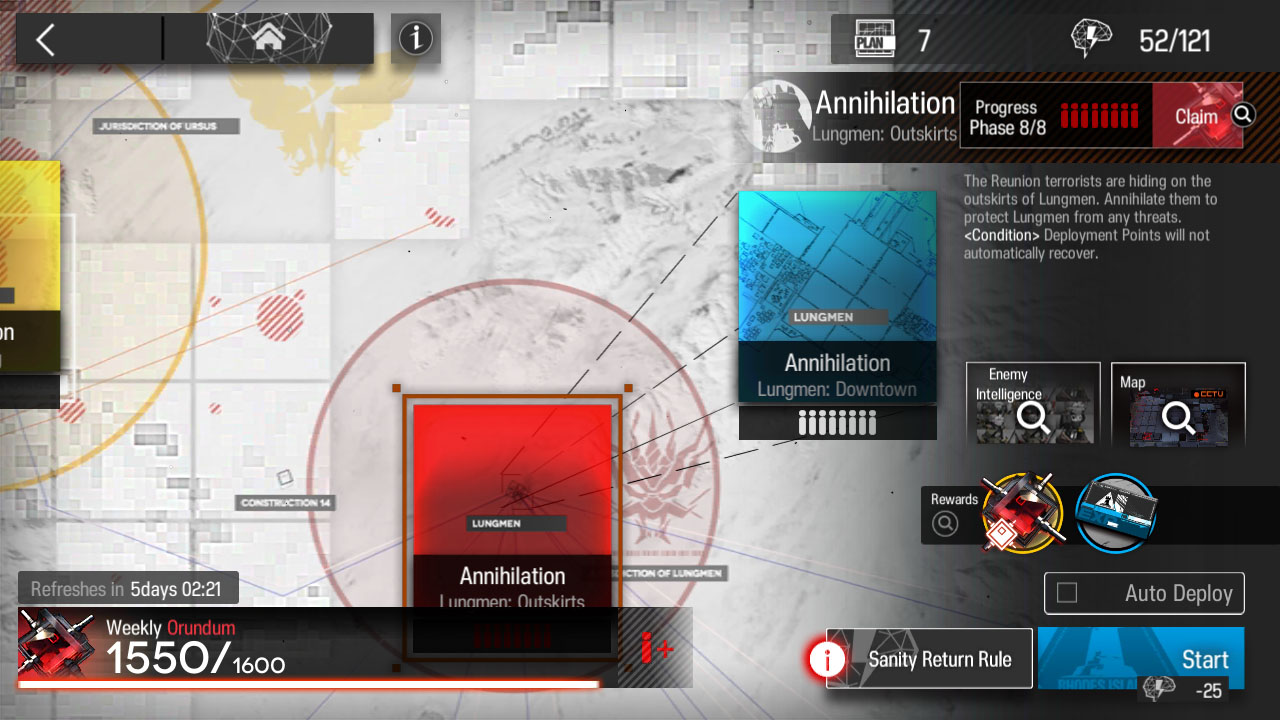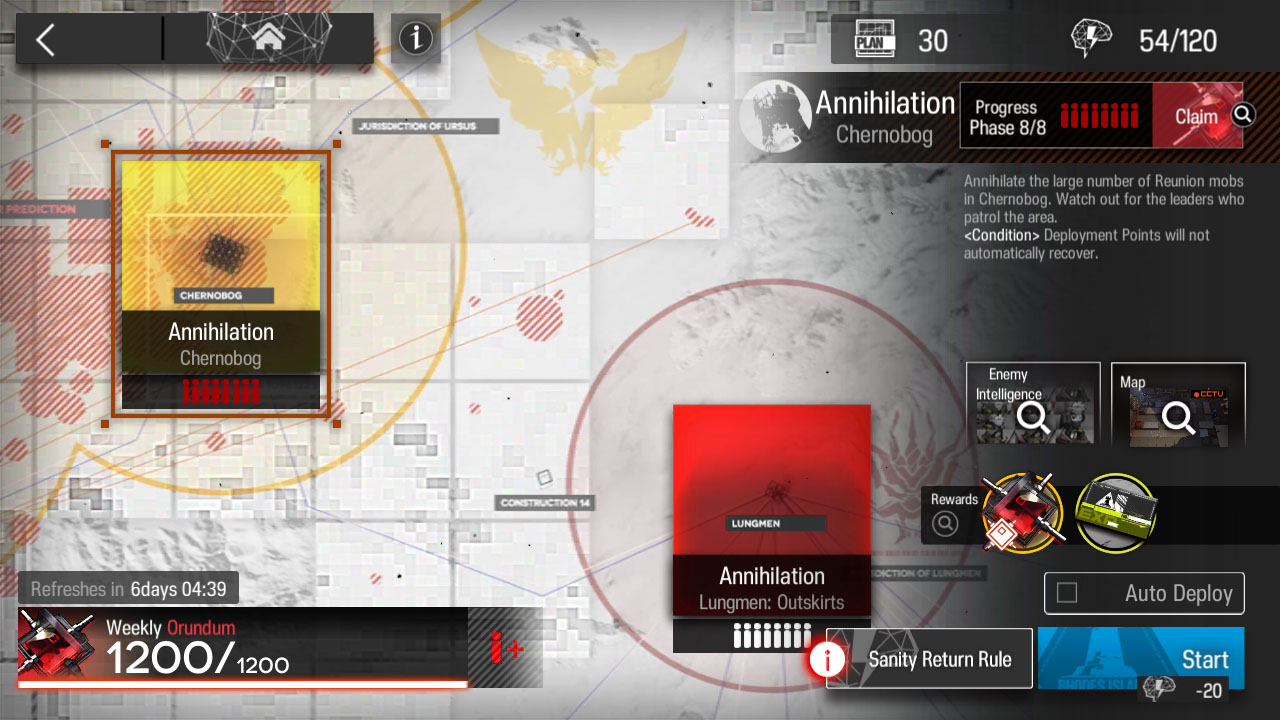
How to clear Arknights Annihilation 1 Chernobog with 400 kills to earn your weekly Orundum.
The Setup
You can clear this stage with lower level operators. But for a more comfortable auto recording a team of Operator Elite 1 Lv. 20+ (Except for Shaw who can be Lv. 1) is Recommended.
There are multiple ways to get a clean clear, the below guide shows one way to go about it.
- 2x Defender
- 1x Guard (Ranged)
- 1x Caster (ST)
- 1x Caster (AoE)
- 2x Healer
- 1x Vanguard (DP on Kill)
- 1x Vanguard (DP Recovery)
- 1x Sniper (ST)
- 1x Sniper (ST or AoE)
- Shaw (with Rank 4 Skill)
Phase One
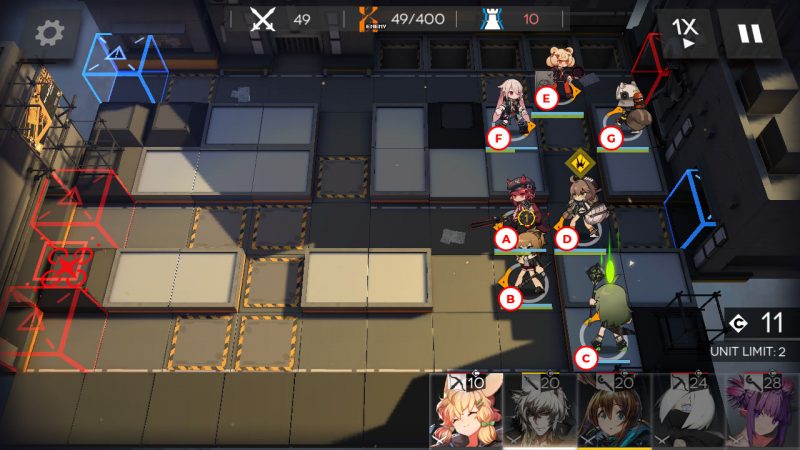
- First deploy your Vanguard (DP on Kill) in position (A) facing left, your Vanguard (DP Recovery) in position (B) also facing left and your Healer in position (C) facing up.
- Next drop a Defender in position (D) facing left.
- Once you have enough deployment points you can start setting up your top lane, don’t worry nothing spawns for a while. Position your second Defender in position (E) facing right.
- Place your second Healer in position (F) facing right.
- Now drop Shaw in position (G) facing up. She will push enemies into that hole at the top of the stage.
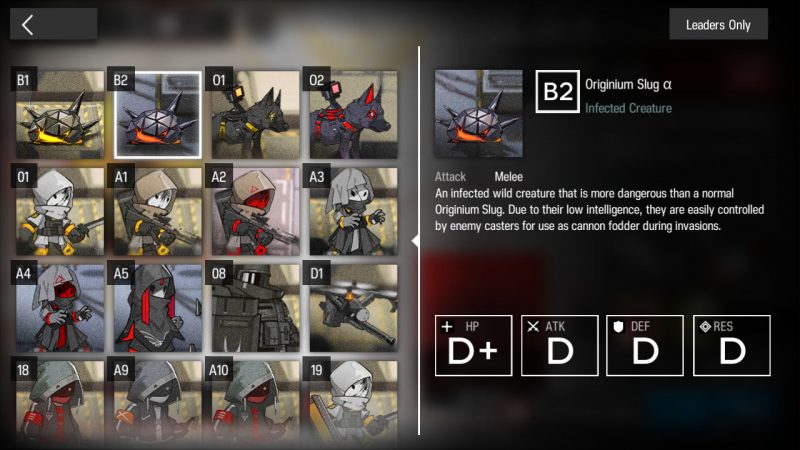
Tip: Use your Vanguard (DP on Kill) skill when there are 4+ Slugs.
Phase Two
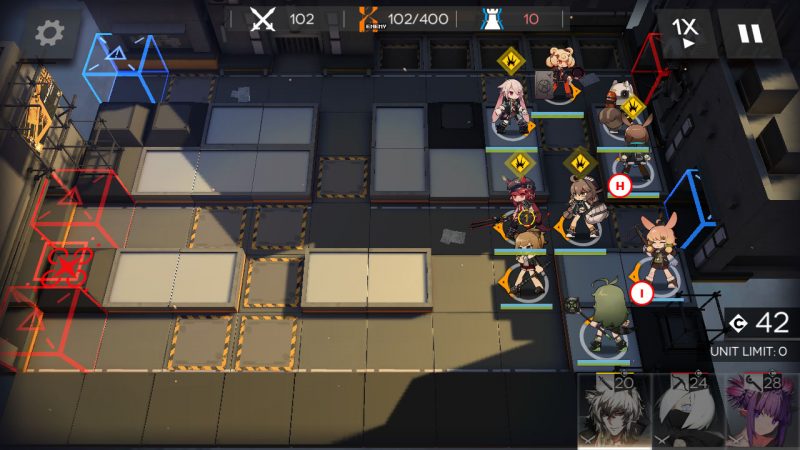
- When you have enough DP place your Caster (ST) in position (H) facing up. This will help Shaw against those heavier enemies that are harder to push.
- At 100 kills you can deploy your Sniper (ST) in position (I) facing left to take care of the air enemies. The reason why we delay this is to give our Vanguard (DP on Kill) the chance to earn us a bunch of DP points from all those slugs.
Phase Three
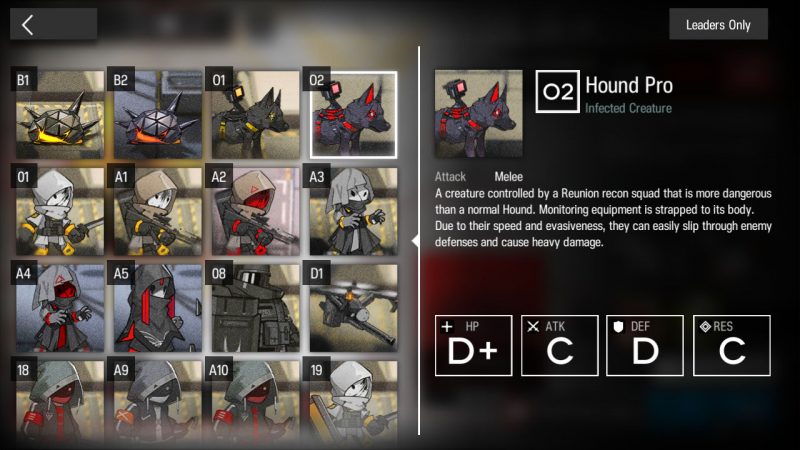
At around 130 kills a 6x Hound Pro dogs will spawn. Switch out your Vanguard (DP on Kill) in position (A) for your Guard (Ranged). The extra block will help prevent leaks.
Phase Four
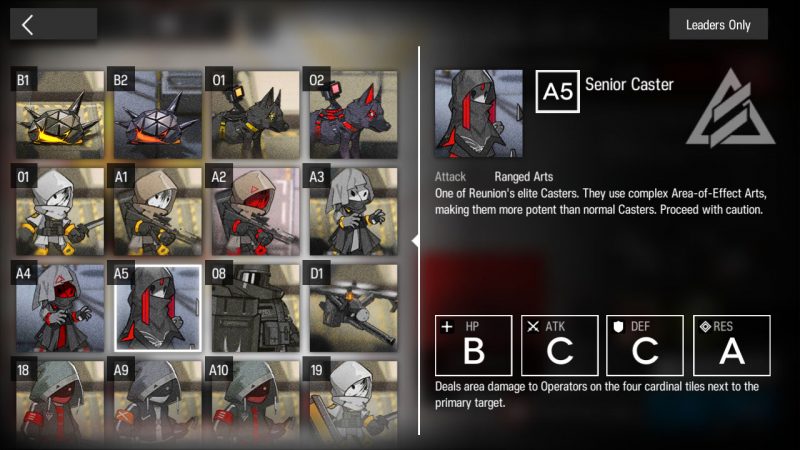
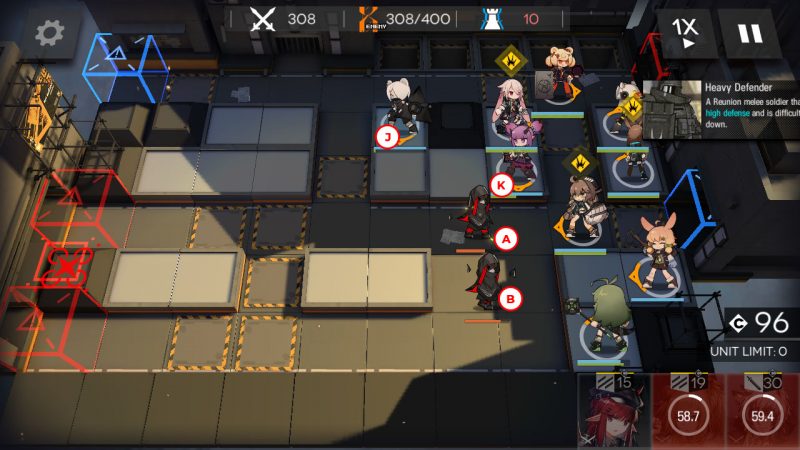
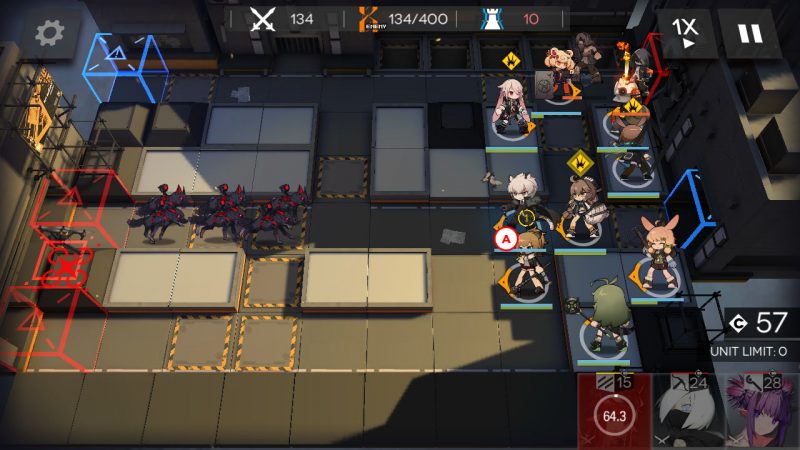
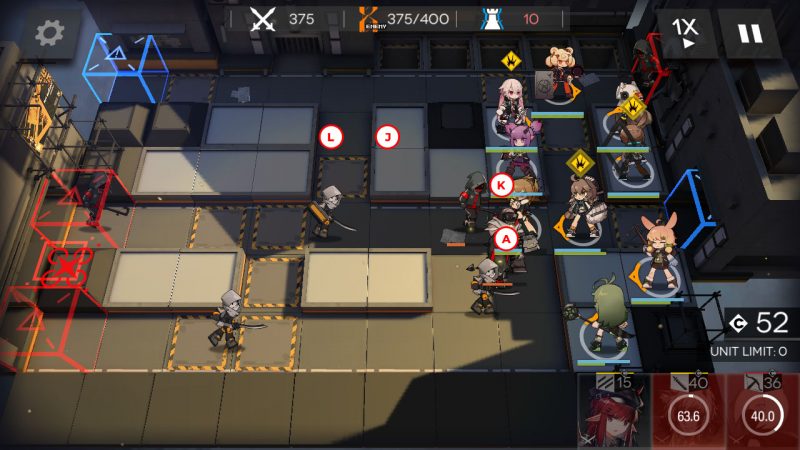
- At around 300 kills 2x Senior Casters will spawn. Once they are close to your defender return both your Guard (Ranged) in position (A) and Vanguard (DP Recovery) in position (B).
- Now place down your second Sniper in position (J) facing down and Caster (AoE) in position (K) also facing down. The Caster is more for the Heavy Defender that follows.
Phase Five
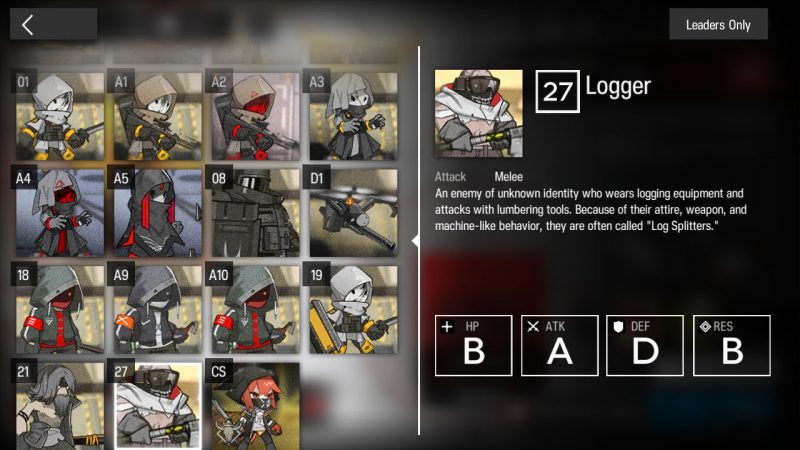
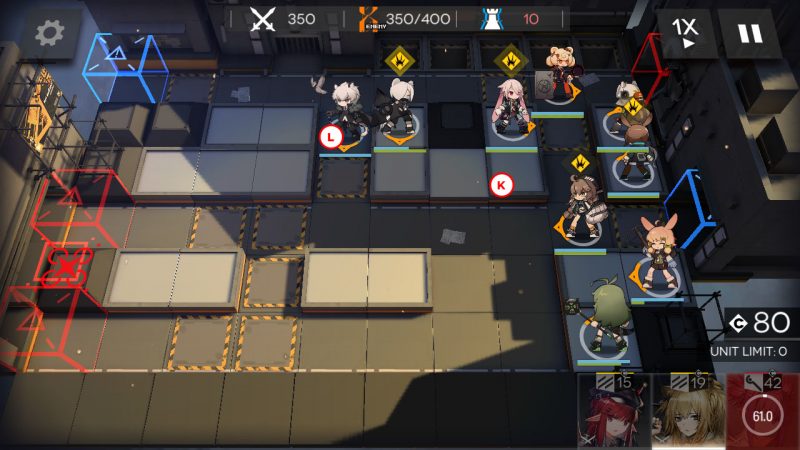
At around 350 kills a Logger and 2x Caster Leaders will spawn and make their way to the top left exit.
Return your Caster (AoE) from position (K) and then place down your Guard (Ranged) in position (L) facing down. The Guard will help protect your Sniper from the ranged enemy casters.
The logger will temporarily stay in that spot 2 spaces in front of your Guard (this is where the range comes in handy)
Phase Six
Once the Logger dies you can return both your Guard (Ranged) and Sniper in position (L) and (J).
Then place down your Caster (AoE) in position (K) facing down and one of your Vanguards in position (A) facing left.
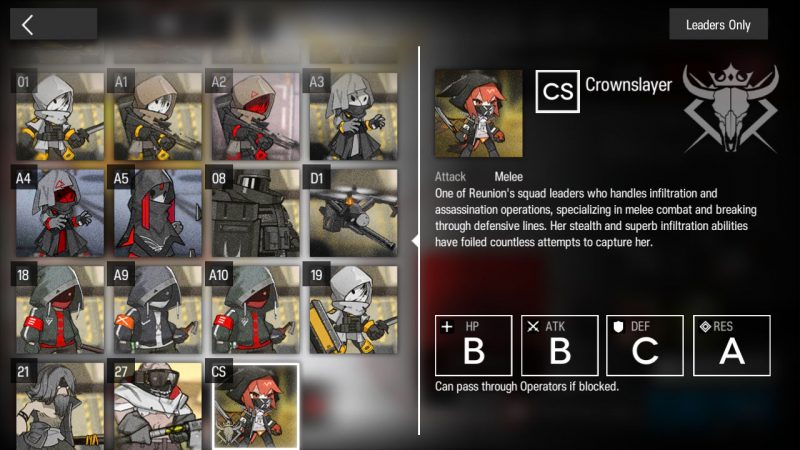
There will be a Crownslayer but our Sniper positioned down bottom will take care of her.
Towards the last wave your Vanguard in position (A) might die. If that happens just deploy your Guard in its position.
If all goes well this should get you a complete 400 Kill Annihilation 1 Clear with no leaks.